Curve: Create Polyline(Wire) 2D
![]()
Function
Create Polylines of the wire type, which consist of a series of connected straight lines. It is only applicable on the Work Plane.
Call
Geometry > Curve > Create
on WP > Polyline(Wire  )
)
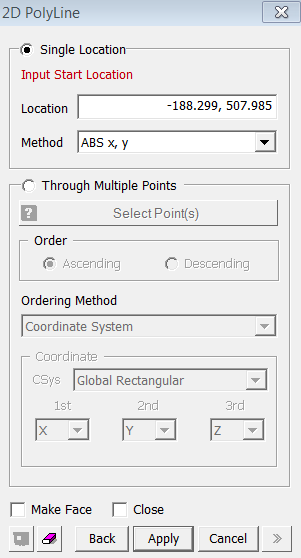
<Polyline dialogue box>
Location
Enter
the coordinates of the locations. The coordinates
are expressed in different forms noted below.
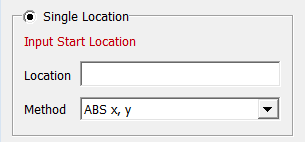
Input Start Location
Enter
the coordinates of a Start Location [(ABS x, y)] of a Polyline.
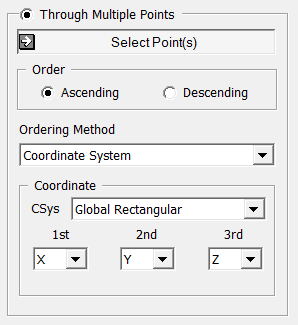
Input Next Location(RB to Stop)
Enter
the coordinates of a subsequent point [(ABS x, y), (REL dx, dy), (Length,
Angle)], which will become connected in a straight line to the last point
entered. Right-click to end the polyline creation.
<Methods of Entering Coordinates>
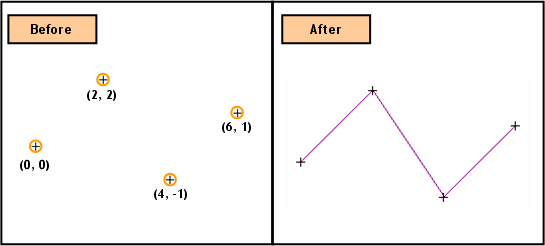
ABS x, y
Enter
2-D coordinates for an absolute location on the Work Plane.
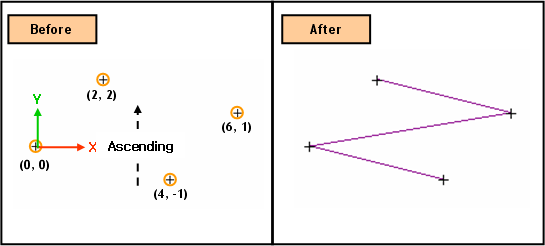
REL dx, dy
Enter
a relative distance from the last point entered in the 2D coordinates
of the Work Plane.
Length, Angle
Enter a distance from the last point entered and a rotational Angle (counterclockwise +) from the + X-direction on the Work Plane.
When we enter coordinates using the mouse, the coordinates are automatically entered by a left-click on the desired point, without having to press the Apply button. However, when coordinates are typed in, either the Enter key or the Apply button needs to be pressed.
Make Face
Create
a Face for a closed Polyline, using Plane Patch. This
operation will not create a Polyline of the wire type. When
the Make Face option is turned on, we can only create a closed Polyline,
and an error message will appear if we attempt to create an open Polyline.
Close
The Close option connects the start and end points upon right-clicking the mouse, thereby creating a closed Polyline.
Notes
When 3-D coordinates are selected in 3-D space using Snap, the program will automatically project the point into 2-D coordinates of the Work Plane.