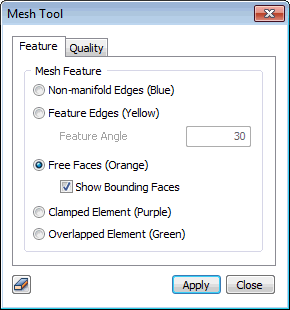
Non-Manifold
Edges (Blue)
Check Non-Manifold edges
in blue. A Non-Manifold edge is formed at the
meeting edge of three or more element surfaces.
Feature
Edge (Yellow)
Check the feature edge
in yellow. A feature edge is the line that has
a sudden change in the model shape, and has an
angle larger than the feature division angle between
2 element surfaces.
Input the feature
angle to calculate the feature edge.
Free
Faces (Orange)
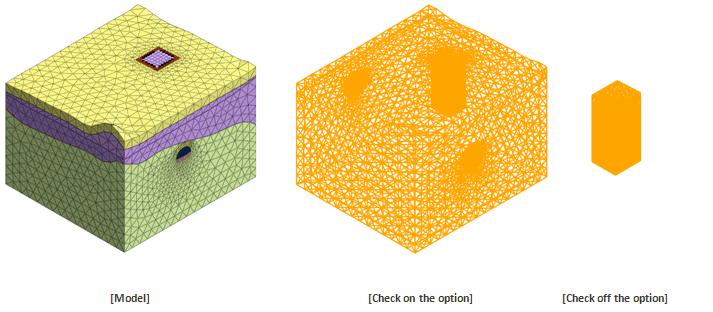
Check the free surface
in orange. The free surface is the section where
the nodes between 3D elements are not connected.
This is an option
to show/hide the boundary faces among free faces.
It is useful to check free faces located inside
in case of 3D complex model.
Clamped
Element (Purple)
Check the clamped element
in purple. Search for elements with all nodes
on the free surface in each 3D element. If the
boundary condition is all applied on the free
surface of the mesh, the confined element does
not affect the analysis.
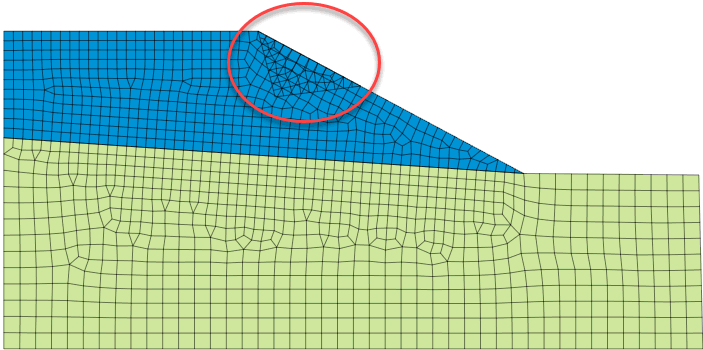
Overlapped
Element (Green)
Check overlapped elements
that have the same node information at the same
position. The elements are highlighted in green,
and the Element > Delete function can be used
to delete the overlapping element. The illustration
below shows the presence of overlapped elements
in a model:

Original
Mesh Original
+ Overlapped Elements Overlapped
Elements (Green)
Penetrated
Element (Pink)
Check penetrated elements
that have penetrated an pre-existing element/mesh
set, here new nodes are present inside a pre-existing
element. The elements are highlighted in pink,
and the Element > Delete function can be used
to delete the penetrated element. The illustration
below shows the presence of penetrated elements
in a model:
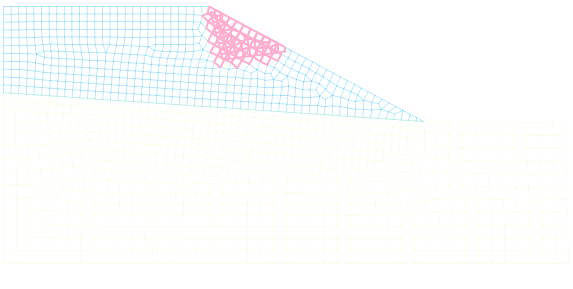
Original
Mesh Original
+ Penetrated Elements Penetrated
Elements (Pink)
NOTE:
Presence of either
free faces (non bounding) in the absence of interface
and seepage cut off element might lead to
divergence and errors in results calculations.
Hence, it is recommended to perform this
check for free faces immediately after meshing
or before running the analysis.
|